A Comprehensive Guide to Cleaning Window Screens – Tips and Tricks for a Spotless Result
Are you looking for tips on cleaning window screen like a pro? Do you want results that are sparkling and streak-free? Then you’ve come to the right place! In this comprehensive guide, we’ll show you all the tips and tricks necessary for cleaning windows professionally. From gathering tools and supplies, choosing the right solutions, prepping your window screens correctly, cleaning methodically and finally achieving shiny finishes without leaving behind streaks; it’s all here in this step-by-step tutorial. So let’s get started!
Identify the Type of Window Screen You Have
Each type of window screen has its own characteristics and requires a unique cleaning method. Aluminum screens are robust and long-lasting, but they can corrode if not cleaned regularly. Fiberglass screens are softer than aluminum, making them less prone to denting and creasing, but they can be damaged if cleaned with harsh chemicals. Vinyl screens are popular for their affordability and resistance to sun damage, but they can become brittle over time. Identifying your window screen type is crucial because it determines the right cleaning approach to ensure longevity and maintain visual clarity.
Prepare for Cleaning – Gather Your Supplies
The first step towards achieving spotless window screens is to gather all the necessary cleaning supplies. You will need a vacuum cleaner with a brush attachment to get rid of any loose dust or debris. Use a soft cloth – it’s gentle yet effective in cleaning window screens without causing any damage. A mild detergent is an essential part of your cleaning arsenal. It’s powerful enough to get rid of dirt and grime, yet gentle enough not to damage your screens. You’ll also need a bucket or large container to mix your cleaning solution in and rinse your cloth or sponge during the cleaning process. Having all your tools and supplies ready at hand will make the cleaning process smoother and more efficient.
Remove the Window Screens from the Frame
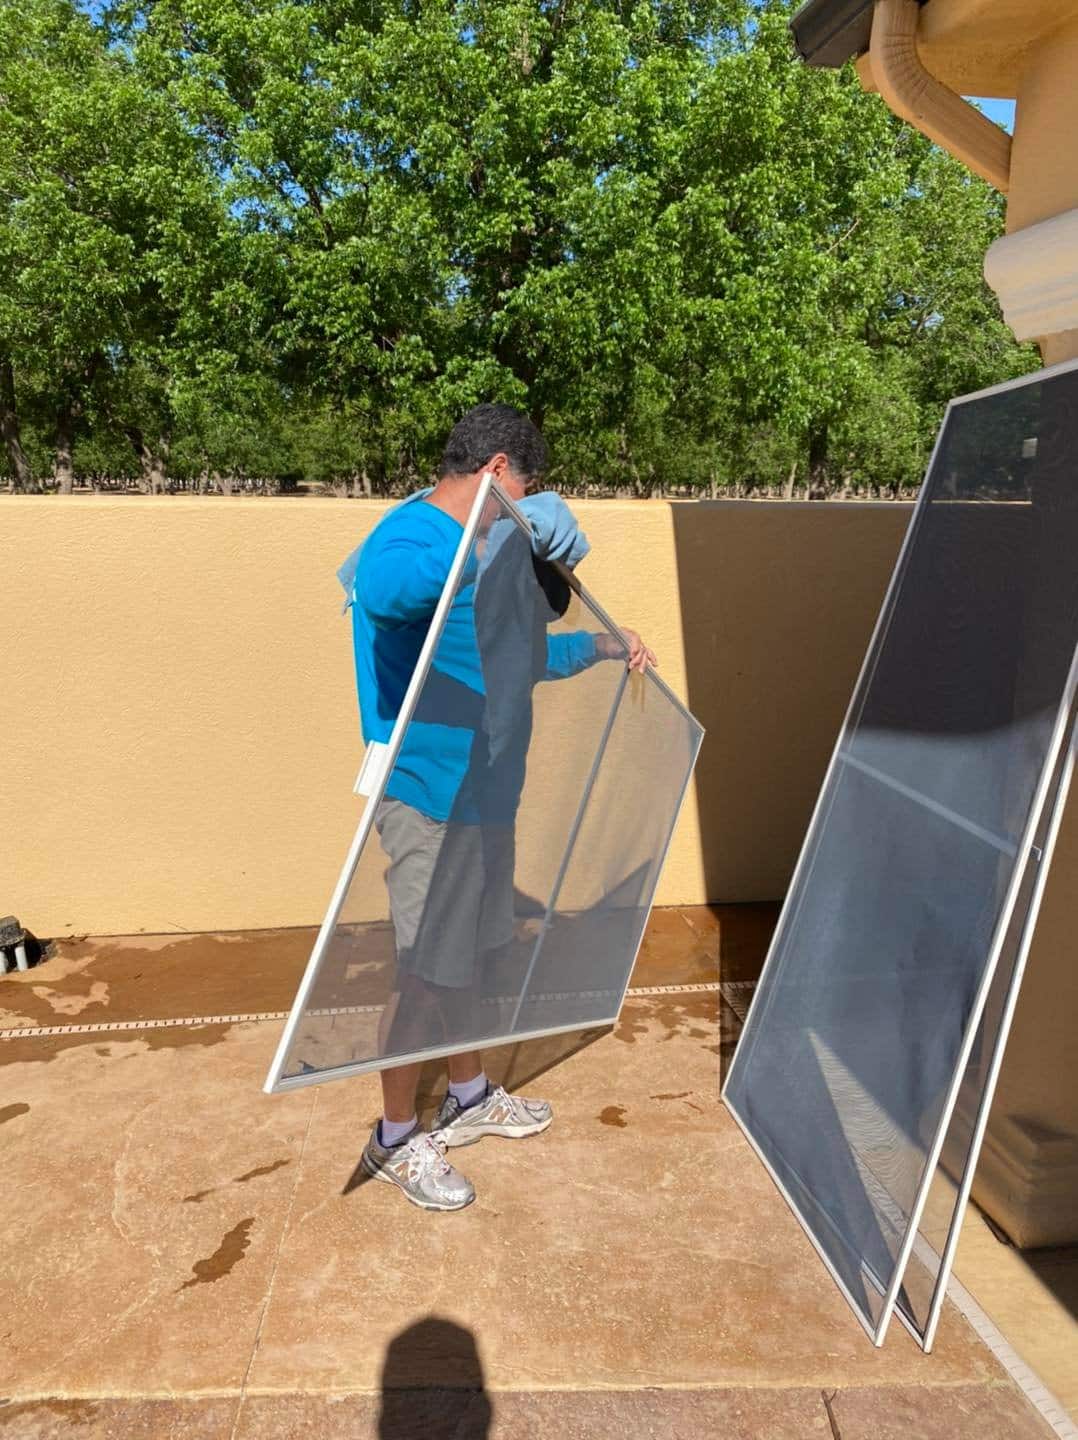
Following the preparation phase, the next step in ensuring a thorough cleaning is to carefully remove your window screens from the frame. While doing this, it’s vital to exercise caution to prevent any damage to the screen or the frame. If your screens are of the type that are held in place with tension springs on the top, start by lifting them upwards before pulling the bottom part out. For screens with clips or other types of fasteners, ensure you release these first before attempting to remove the screen. Remember, gentle and careful movements are crucial during this step to maintain the integrity of your window screens and frames.

Vacuum Both Sides of the Screen
Once the screens have been safely removed from the frames, it’s time to start the actual cleaning process. Begin by using the brush attachment on your vacuum cleaner. This tool is particularly effective at dislodging and removing any dirt or debris that may be stuck in the fine mesh of the screen. Be sure to vacuum both sides of the screen, paying special attention to corners and edges where dust and grime tend to accumulate. This initial vacuuming step is crucial as it removes the bulk of loose dirt, preparing the screen for a more thorough cleaning with your detergent solution. Remember to vacuum gently to avoid causing any damage to the screen’s delicate mesh structure.
Clean with Warm Water and Soap
After vacuuming, the next step involves a deeper clean with warm water and mild detergent. Fill up a bucket or large container with warm water and add a sufficient amount of mild detergent. Ensure the detergent is thoroughly mixed to create a sudsy cleaning solution. Carefully submerge each side of the screen into this solution, letting them soak for approximately 5 minutes. This allows the detergent to penetrate and loosen any remaining dirt or grime. After soaking, gently wipe both sides of the screen with a soft cloth or sponge, making sure to cover all areas, especially corners and edges. Rinely rinse the screens with fresh water to remove any soap residue. This method ensures a thorough clean, leaving your screens devoid of dirt and sparklingly clean.
Dry Thoroughly Before Reattaching
After cleaning, the next crucial step is to ensure that your window screens are completely dry before reattaching them to the frames. Lay out your cleaned screens on an old towel or sheet to absorb any excess water. If possible, perform this task outdoors, preferably in direct sunlight as it will expedite the drying process. The heat from the sun helps to evaporate any remaining moisture, preventing the growth of mildew or mold. Also, the UV rays from the sun can act as a natural disinfectant, providing additional sanitation benefits. Once the screens are completely dry, they are ready to be reattached to their frames.
And that’s it! With these simple steps, you now have all the knowledge and tips necessary to clean your window screens like a pro. So don’t hesitate any longer – grab your supplies, put on some rubber gloves and get cleaning! You’ll be amazed at the spotless results that can be achieved with minimal effort.

South Jordan Window Cleaning
https://www.google.com/maps?cid=7869229817091528849
9192 S 300 W Suite 14, Sandy, UT 84070
(801) 790-0080
https://www.southjordanwindowcleaning.com/


